Showing posts with label culinary experiments and restaurant adventures. Show all posts

Wednesday, September 12, 2012

korean veganized bulgogi and pickled veggies

About two months ago I mentioned about how I wanted to try to challenge myself to eat healthy on the cheap. When I say challenge I don't mean "for fun" I mean as I really should. Anyway, I had a hankering for Korean Bulgogi which is made with beef marinated in a savory sweet sauce. Bulgogi is delicious but can also be high in calorie and greasy (by the way you can pick up a pretty good pre-marinated beef bulgogi from Trader Joe's). I was hoping to get the same flavor using portabella mushrooms instead and I am pleased to say that it turned out delicious and filling. The ingredients may seem like a lot but you probably already have all of these things in your pantry.

Portabella Bulgogi (with a side of quick pickled veggies)
Serves 1 large serving or 2 smaller servings. Double everything for larger servings.
I basically used this recipe.

I also served this dish with a side of quick pickled veggies which goes great with the bulgogi because the acidity brightens up the really savory and sweet flavor of the bulgogi.

What you need:
2 portabella caps

Marinade:
1/2 medium onion
1 sprig of green onion
1 tbs. of garlic
a little over half of 1/3 of a cup of soy sauce
1 tbs. sugar
1 tbs. toasted sesame seeds (or a little more to save to sprinkle on top at the end. You don't have to toast the sesame seeds but I find that toasted and not toasted makes a pretty big difference because toasted has more flavor. It only takes a couple of seconds to toast them on a hot dry pan. Plus I love the smell of toasted sesame seeds).
1/2 tbs. of sesame oil (optional)
red pepper flakes (I only put a pinch or two but you can put as much as you want depending on how spicy you like your food).
black pepper (a couple of dashes)
ginger (I just used a dash or two of powdered ginger)

** Do not add salt because the soy sauce is salty enough.

What to do:
Combine all of the ingredients for the marinade in a bowl (or a large tupperware so you can use the lid, shake it up and make sure all of the mushrooms are covered in the marinade). The marinade smells so good. Once it's all combined, add sliced portabellas, lid and shake it (like a polaroid picture).


Untitled

You don't have to let the mushrooms marinade for a long time (I'm impatient and hungry so I waited like 2 minutes). It's not like meat that requires the marinade to so it can be tender and absorb the flavor. The beauty about mushrooms is that it absorbs flavor really well.

Pour all of the mushrooms along with the marinade onto a hot pan. Let cook until the mushrooms are cooked and the marinade becomes dark, thick and syrupy.

You can enjoy the bulgogi anyway you like. I tried it in a taco using wheat tortillas topped with the pickled veggies and in a rice bowl. Both were good however it is better to eat this with something that will absorb the marinade so rice or a type of bread would work really well. The tortilla can be a bit too messy.

Untitled Untitled

Top with more sesame seeds and green onions if you like.

Quick pickled veggies

What you need:
Shredded carrots and daikon (if you have some). I just used leftover pre-made shredded broccoli slaw mix.
rice wine vinegar (or regular vinegar)
sugar
*use equal parts vinegar and sugar. I just used enough to cover the amount of veggies I used.
pinch of salt

Combine everything and let sit at room temperature for 30 mins.

Nutrition Facts 
Bulgogi Only
for 2 small servings or 1 large serving (2 portabellas)
Cal. 257, Fat 9.51, Carbs 36.34, Protein 11.34 (cholesterol free!)


Friday, August 10, 2012

but his heart drank wine: amador county wine tasting photo diary

Every now and then I put down a pint of beer and I like to tap my inner housewife and drink wine. Here are some "iPhonetography" from a quick wine tasting trip with some friends just 40 minutes east of home. Amador County around the Shenandoah Valley is one of my favorite places to wine taste because there's good wine, great scenery, friendly people and free!.


And here are some people I like to call my first and second wheel. I met Jen and Justin in college and even then before they were husband and wife, they were my first and second wheels (I their third) and we have had boat loads of spontaneous adventures.

The spoils


Other wineries we visited but not photographed were Sobon Winery, which is the oldest winery in the Amador County/Shenandoah Valley area and Drytown Cellar, which is where I go the wine on the left called Vino de Mocca. That Vino de Mocca is chocolate, orange, vanilla, coffee beans, grapes... nectar of the gods (or at least the ones who love dessert wine).

Salud!

Thursday, July 26, 2012

san francisco beer tour

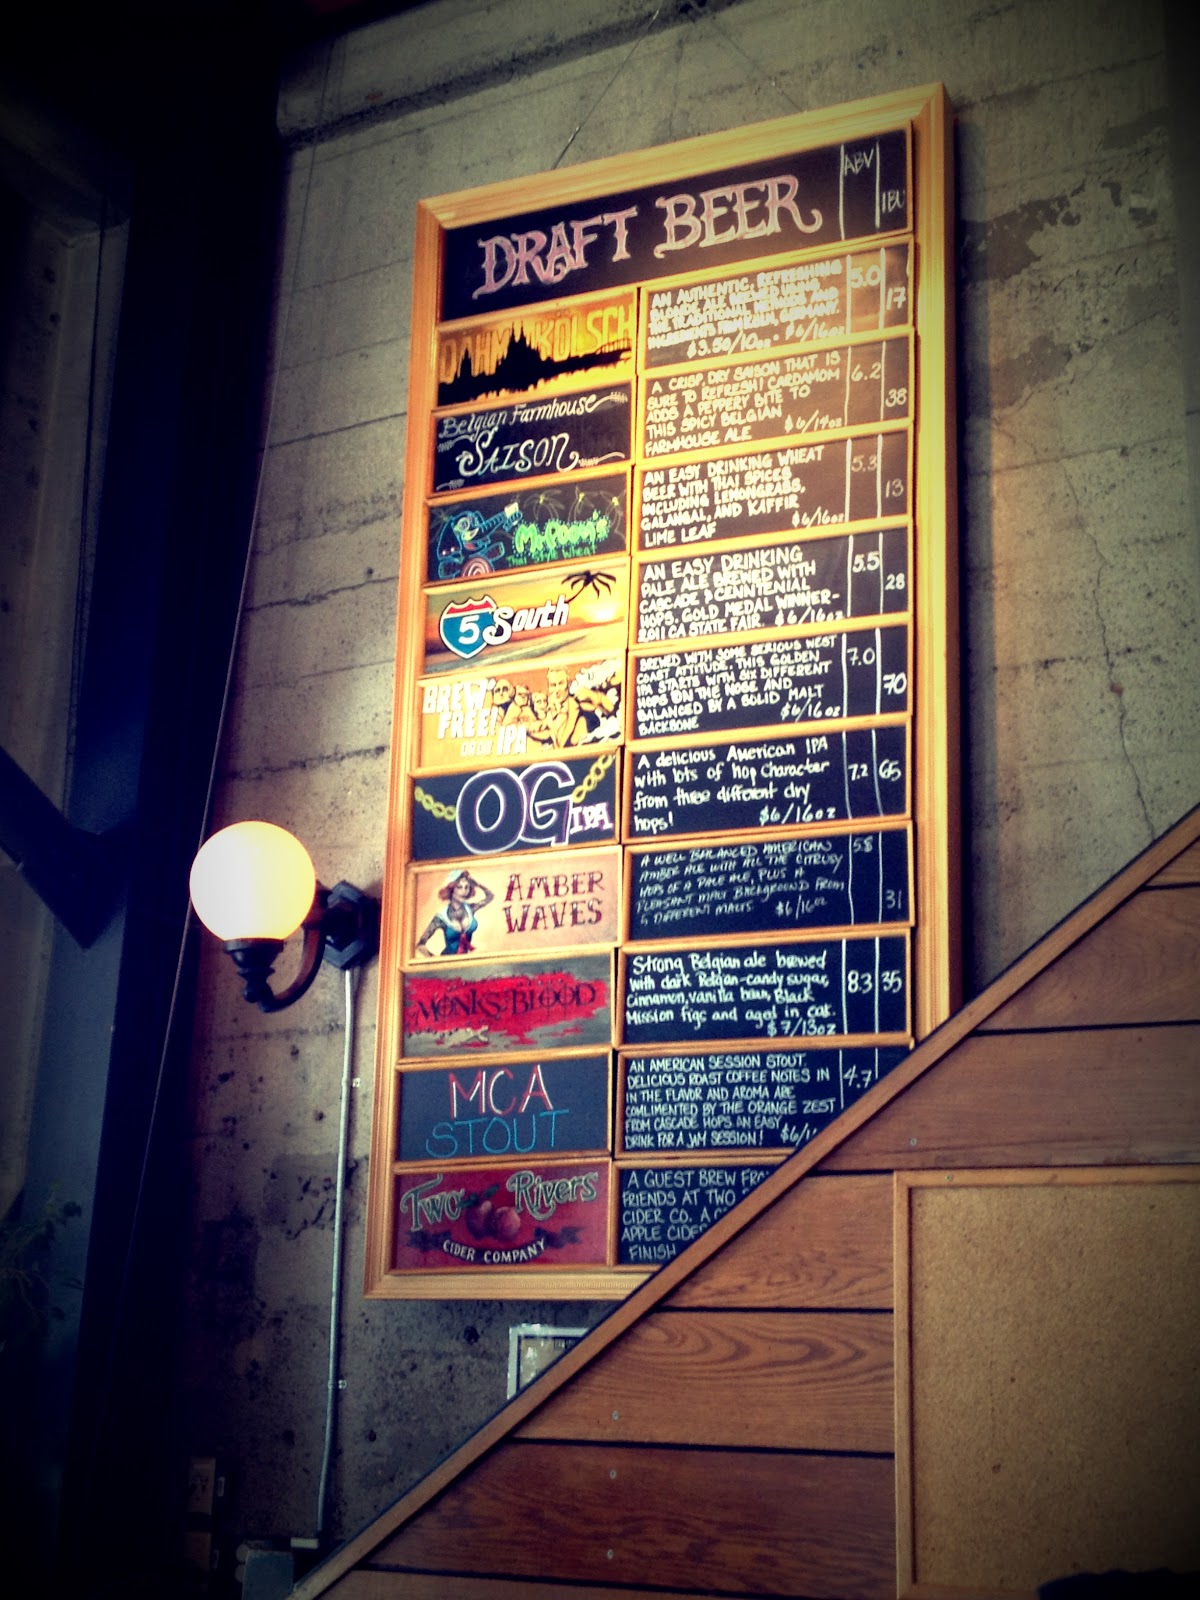
A few weeks ago I visited two breweries and one pub in San Francisco. Brewery tours have become one of my favorite ways to spend the day.

21st Amendment
21st Amendment is a brew-pub located in the South Beach area. I love the names of their beers. They have this watermelon beer that's quite popular with the ladies. Also, as a bonus if you visit this brew-pub, The American Grilled Cheese Kitchen is just right across the street (!) if you aren't into the food at 21st Amendment, but the food at the pub is pretty good.


Toronado Pub
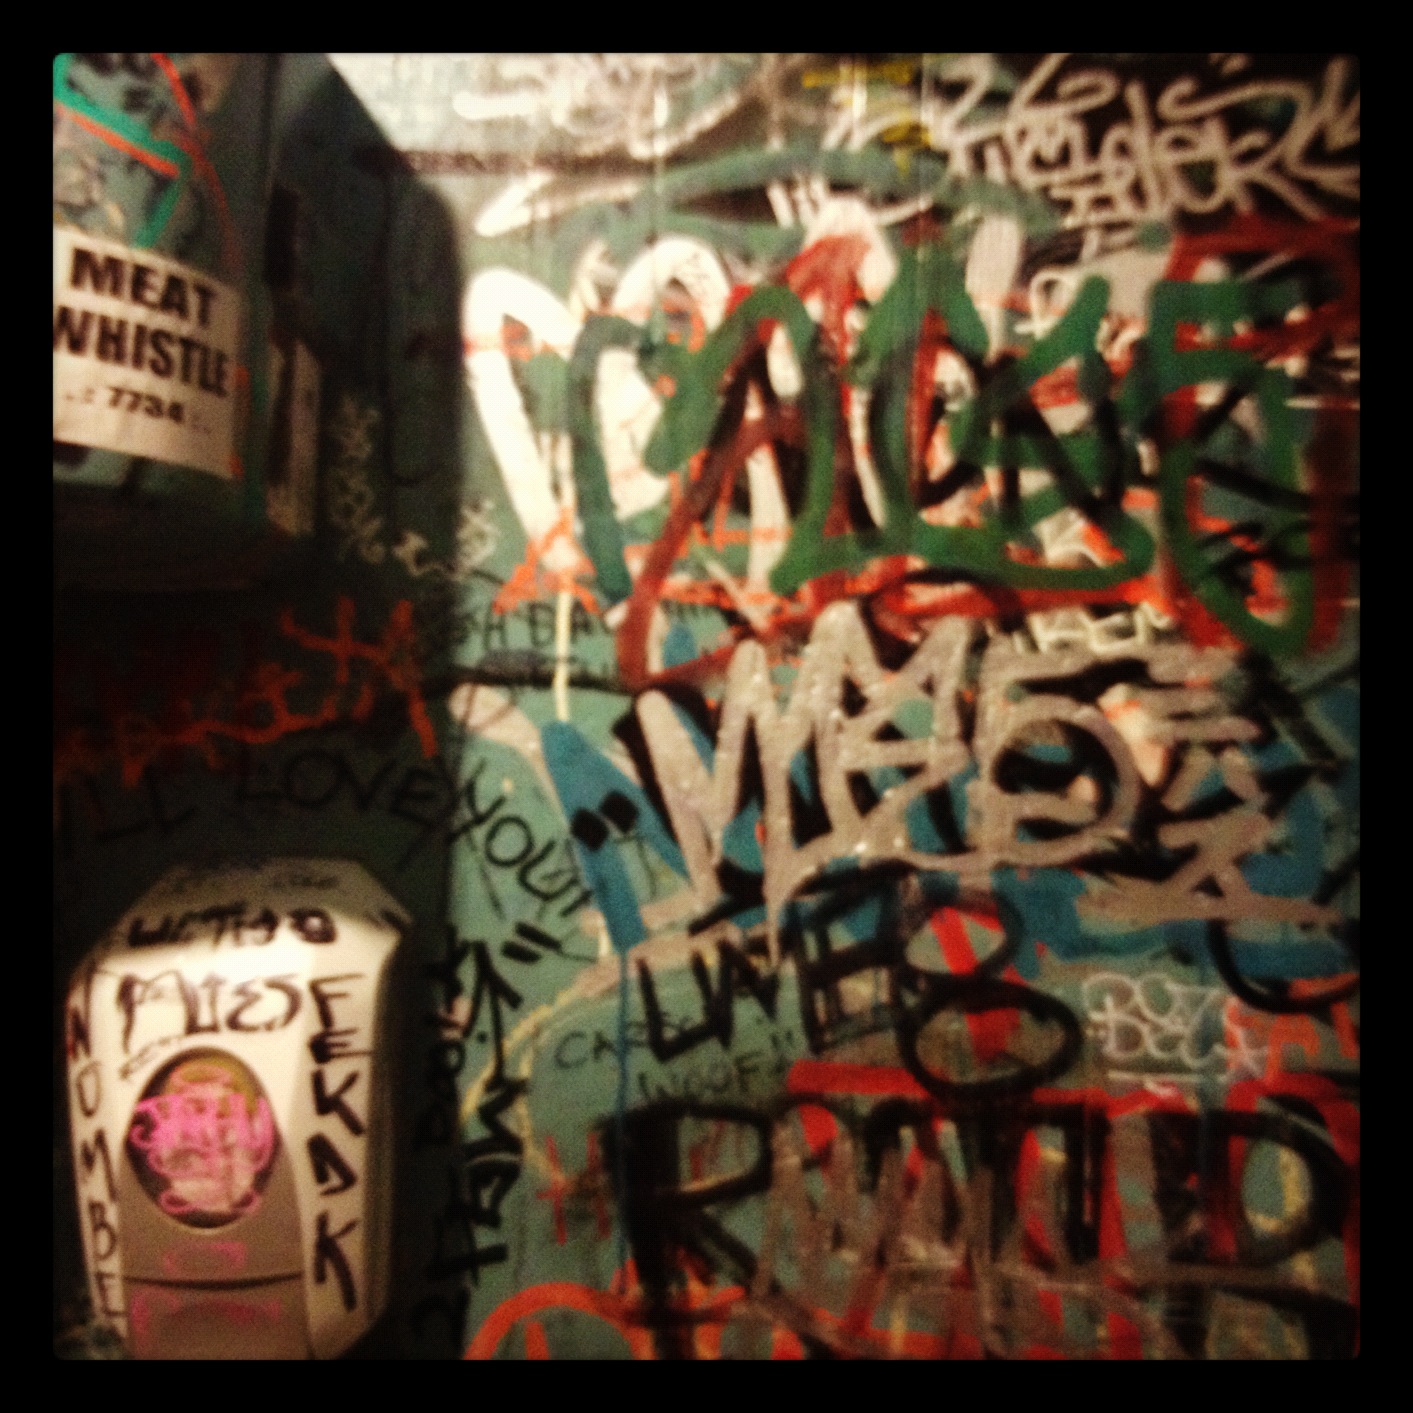
Over in the Haight-Ashbury is Toronado Pub. This place does not serve food, it's small, has a dive vibe but has excellent beer selection with a range from Russian River on tap to Dog Fish Head. The restrooms are covered in graffiti/art? (including the toilet seat). Also at this place you may run into more than one old man with dreadlocks that go to the floor and instead of the stench of cigarettes permeating from the outside, you will smell weed.


Speakeasy Brewery
If you head a little south is Speakeasy Brewery. They only have a tap room which happened to be filled with "Punks" the day we visited. Yes boys and girls, the punk scene is still alive. I stuck out like a sore thumb.


Now officially on the search for an opportunity for another beer tour somewhere!


Thursday, July 19, 2012

cooking healthy on the cheap: brown sugar granola

For the past couple of months my wallet has been getting significantly lighter while I have been getting heavier. My efforts at the gym are futile because I have completely abandoned "healthy eating" and it's time to get back on track. I've gained around 5-8 lbs.. boohoo, waaaah, first world problems.. etc.

I'm back in my kitchen (no more getting take out!) and trying to cook healthy on the cheap. When I say on the cheap, I don't mean shopping at Safeway instead of Whole Foods. I mean shopping at the mother of discount store of groceries, Grocery Outlet (a.k.a The G.O). A trip to The G.O. is always an adventure because you never know what kind of items will be available. If you are the type who is loyal to one particular brand, forget shopping there because The G.O. will switch up on you. However, if you are an easy hooker like me, you will take what you can get. The G.O has some really great brands that are cheap. For example, Blue Diamond Almond Milk is $1.49 as opposed to $3-4 at other grocery stores. Also, you can get make up remover wipes for $1.99 as opposed to the cheap Safeway or CVS brand for $3.50, and if you're a fan of Baby Phat, you can pick up perfume at the checkout counter for $7.00. Shopping at my local G.O. is also an adventure because the people that frequent the store are either homeless, dirty hippies (and sometimes it's hard to distinguish homeless from hippie), hipsters, young hip couples, young professionals and professionals (depending on the day). 

Here's a dish-- or topping rather that is quite delicious, versatile and CHEAP and EASY.

I picked up this box of Whole Wheat Berry Flakes and Flax Seed cereal for 99 cents and as you can see all the ingredients are good. Plus it's called Uncle Sam and it was saying to me, "I Want You [to buy me]." 

The cereal is not sweet and kind of boring so I turned it into granola. I was going to make brown sugar brittle but it didn't quite turn out that way.

What you need:
1 box of Uncle Sam's cereal
3 cups of brown sugar
1.5 cups of water
1 tbs vanilla extract

What to do:
Combine the sugar, water and vanilla in a pot on high heat and boil. The smell will be AMAZING. 

After it has come to a boil, turn the heat to medium and cover for about 3 minutes, stirring occasionally.


Let the sugar cook for about 5 minutes making sure you don't burn it then add the box of cereal and stir. The sugar will start to cool at this point, remove from the heat.

Spread the cereal on a non stick surface like a Silpat. Make sure you spread it out thin (thinner than this photo) or you will have to wait for it to dry for dayzzz.


I topped some fruit with the granola and it was divine.


The granola was a little chewy but had a great depth of sweetness from the brown sugar and vanilla.

You can save the rest of the granola to sprinkle on top of yogurt, frozen yogurt, ice cream or your lover if that's what you're into.


This dish is good for people on a budget who want to top anything with something sweet and crunchy.


Monday, May 7, 2012

gym time, later undone by butter cookie sandwiches

You might find it odd-- sadistic-- even to have a blog post about cookies and working out but I'm doin' it. I have been hitting the gym a lot lately (5 out of 6 days!) and I'm not saying that to brag about it (ok, maybe a little) but mostly to say that my lack of a busy social life and trying to be more frugal is driving me to go to the gym. The gym is a great way to kill 1-2 hours without having to spend any money and for days when none of your friends have taken you up on your offer for happy hour. The big bonus is you really do feel great afterwards and you never regret going to the gym. I can't believe I am starting to like the gym.  No, that doesn't mean I am "addicted" to going to the gym or working out. I would never say that, plus I think it's a fake addiction. I think people are addicted to feeling good about themselves.

Now about the cookies...

I initially wanted to make Martha Stewart's Lemon Cookie Sandwiches but I didn't actually have any lemons and I didn't feel like making the lemon cream filling. Instead, what I made was essentially butter cookie sandwhiches, with pink frosting filling. I totally used store bought fluffy white icing I colored pink. The cookies turned out great. I used the exact cookie recipe Martha Stew used sans the lemon rinds.


Friday, January 27, 2012

spinach bean soup

Don't be fooled by my food posts. I have been eating too much junk food and failing miserably at my one month new year's resolution.

I just made a large batch of this soup so hopefully I can get back on track. It's kind of like a white bean kale soup except I didn't have any kale and a I didn't have any white beans, so it's a spinach kidney bean soup (w/assorted veggies).

What you need:

Vegetable stock (1 box for this recipe. You can add water if you need more liquid or add more stock. I recommend stock because stock has a little more flavor than broth)
Can of beans
Mix of veggies (Confession: I keep a bag of frozen vegetables on hand because my fresh vegetables go bad too quickly)
Chopped spinach (I also used frozen)
Half and onion diced
Garlic (optional)

Whole wheat bread
Garlic Clove

What to do:


Saute veggies and onions in a pot. I added liquid amminos for extra flavor.
Pour in box of stock, drained beans and spinach. Let frozen spinach melt. Season with salt and pepper.
Let boil then reduce to medium heat and cook for 15-20 minutes.

Serve with toasted garlic bread. My favorite way to get a hint of garlic flavor onto bread is super simple. Get toasted bread and while it's hot, cut a garlic clove in half and rub the cut half onto the bread. The garlic will melt and the bread will soak in all of the garlic flavor. The bread also has a little kick. This method is also great for making sandwich bread.


It's not the best looking soup but it was surprisingly comforting and pretty good. I know it's hard to get excited about healthy food. If I cooked like Paula Dean of course everything I make would be good because let's face it, anything with a lot of fat tastes good. 


This dish is good for people who don't want to chop anything and want to make soup in 20 minutes so you can start your night watching all of your favorite t.v. shows.

Sunday, January 15, 2012

my vices: potato chips and shopping

To satiate my potato chip craving without having to eat a large bag of oily chips I have finally found a way to make oil-free potato chips. I cannot express enough how excited I am for this new discovery.

I finally bought a slicer but it doesn't work very well or maybe it's operator error.

The key to getting the potatoes crispy is to soak them in cold water to get rid of the starch then dry the chips on a towel.


Lay the chips on a plate (not crowding them) and microwave for about 3 minutes but keep an eye on it before it starts to get too brown. Make sure you see a little brown it means they're crispy. Flavor the chips before you put them in the microwave.


You can use a little bit of cooking spray on the plate to make sure it doesn't stick. A paper plate will work as well.


The chips are crispy. They don't quite taste like baked potato chips but you can flavor it with garlic salt or onion salt.

That's one vice I've sort of kicked, now if only I can quit shopping.

I went shopping two days in a row because once I started, I opened the flood gates. I purchased pants, two sweaters and a necklace.

As far as losing 5 or more lbs. in one month that progress is slow. I've lost 2 lbs. since the first. 


Tuesday, January 10, 2012

"beautiful on the inside" (i'm sure that is a line in some annoying christina aguilera song)

In every ugly person lies someone beautiful inside. Is that how the saying goes? Anyway, I discovered this website/blog that I feel like my blog is on the inside.


This website is run by Pippa Lord who is the Photo Director for Elle magazine. The website is dedicated to food, cooking and of course the photographs are gorgeous as well as the subjects of the photos.

Good looking, chic and stylish people cooking food. In my mind, this is how my blog looks.


On this website, you'll find recipes, restaurant reviews, household tips and other home-related topics.

This brown rice stuffed bell pepper I had for dinner is beautiful on the inside.


I sauteed (using no oil) chopped bell pepper (I used the caps), onions, garlic, chopped tomatoes and mushrooms seasoned with a little bit of herbs. I then added cooked brown rice and Mary's Gone crackers crumbs to soak up any of the juices. I spooned them into the hollowed out bell peppers (cut the top off, spoon out the seeds and save the caps to chop up and put in the filling). I also made a sweet tomato sauce (similar to my filipino spaghetti sauce, minus the hot dogs) to go with the bell peppers. Put the bell peppers into a casserole dish with the tomato sauce at the bottom, cover with foil and bake at 375 for 40 minutes. Uncover for the last 10 min.

This dish is good for people who are beautiful on the inside and outside.


Saturday, January 7, 2012

use whatever is in your fridge stir-fry noodles

I can watch a marathon of "Chopped" for hours. There's something about watching four chefs vigorously cooking ingredients like lamb testicles in 20 minutes only to have their dishes judged by chefs who are more accomplished. I am addicted to this show. Sometimes when I cook I like to pretend I'm on Chopped. I look in my pantry and fridge and see what I can make using only what I have at home. This has helped me not waste any of the food I buy and I guess it fosters my cooking creativity. The result may not always be great but as long as it keeps me fed and saves me money, it's good enough for me.

What I had in my freezer were almost empty bags of frozen vegetables and I really wanted to get rid of them. I also had mushrooms, baby bok choy and these noodles I picked up at the Asian store last week.


The one on the left are Bean Threads made out of mung beans. The bean threads turn clear when they are cooked. They have a sort of rubbery texture and are great in soups. I grew up eating a lot of bean threads typically in a Filipino chicken soup called Chicken Tinola which is ginger and chicken stock based. The noodles on the right are dried wheat flour noodles kind of like a thin chow mein noodle. The best part about these noodles is they are filling, versatile and FAT FREE!

I didn't want to make a soup so I made my weird version of Pancit (which is another Filipino dish, a lot like chow mein). 

What I used:

- White button mushrooms 
- Variety of frozen vegetables: Peas and Carrots, Broccoli and Pearl Onions
- Baby bok choy
- Bean thread noodles and dried noodles (I used 2 bundles of bean threads, one bundle of dried noodles. This makes two large-ish servings)
- Garlic chili paste (1 tsp. or more depending on how spicy you like it. You can also use just plain chili paste or chili flakes)
- Soy Sauce or Liquid Amminos, I used a little of both
- Vegetable broth for sauteeing (or you can use oil)
- A little bit of Sesame Oil (at the end. This is optional)
- *Microwaved Brussels Sprouts - This is also optional. I added this on top because I had leftovers. 

What to do:

Using hot water from the faucet, in a bowl soak the noodles until they come apart and are soft. I recommend breaking up the noodles in half so you don't have really really long strands of noodles making it a little difficult to eat.

Meanwhile in a wok with some vegetable broth, cook up the frozen veggies and mushrooms. Season with soy sauce/liquid amminos, salt and pepper and chili paste. You can add a little bit of ground up ginger. Cook and taste and add seasonings as you go. 

Drain the noodles then add them into the wok. Put the flame on low-medium. Toss and add more soy sauce or liquid amminos if you want. The vegetable mushroom mixture will be a little watery if you use frozen veggies but that is ok because the noodles will soak up all of that liquid making them really flavorful. If the noodles start to get dry and stick to the pan, add a little bit of water or vegetable broth.

Take off the heat and fold in the baby bok choy until it wilts.


Tuesday, January 3, 2012

baked onion rings and stuffed mushrooms

I grocery shopped on Amazon* and I received a 6 month supply of Mary's Gone Crackers Crumbs. I've already talked about how much I love Mary's Gone Crackers and the crumbs are just ground up crackers and you can use them in place of bread crumbs.


I tried using the crumbs in two dishes.


Baked Onion Rings (oil and dairy free)


What you need:


- Vidalia onions
- 1 cup of Soy or Almond milk 
- 1/2 cup of whole wheat pastry flour (I like to use pastry flour because it is lighter than whole wheat flour. You can also use white flour)
- 2 tbs. of corn starch
- 1 tsp. of apple cider vinegar
- Mary's Gone Cracker Crumbs (or whole wheat bread crumbs. If you use Mary's gone crackers or pre-made crumbs you don't need to season)


What to do:


Set the oven to 450 degrees


Cut the onions into rings about 1/3 inch thick (I haven't received my onions goggles so I was teary eyed once again).


Combine the flour and corn starch in a bowl and whisk in the milk making sure there are no lumps.


Put crumbs in another plate and set up a dipping station.


Dip the onions in the batter, then the crumbs making sure you coat the onion ring. I recommend using a fork when taking the onion out of the crumbs to help keep the crumbs in tact on the onion.

Place on a baking sheet (make sure it is non stick if you aren't greasing the pan. I highly recommend using a Silpat or something like it. Totally worth buying one, you never have to grease a pan. Ever.).

Bake for about 8 minutes, then turn over and bake for another 6 minutes. Let sit for a minute, then enjoy.


These onion rings were super crispy, light and full of flavor. I love how they are not greasy at all and the batter isn't too heavy. 


Stuffed Mushrooms (oil-free)


What you need:


- Whole white button mushrooms stems removed but save the stems!
- Onions
- Seasonings of your choosing
- Garlic minced (optional)
- Mary's Gone Cracker crumbs (or another type of bread crumb)
- Vegetable broth

What to do:


Set your oven to 350-375 degrees

Remove stems from the mushrooms, but save them. Clean the mushroom caps with a damp cloth.

Cut the bottom (the brown dirty) part of the stems, then chop into small pieces. Chop the onions to about the same size as the mushroom stems.


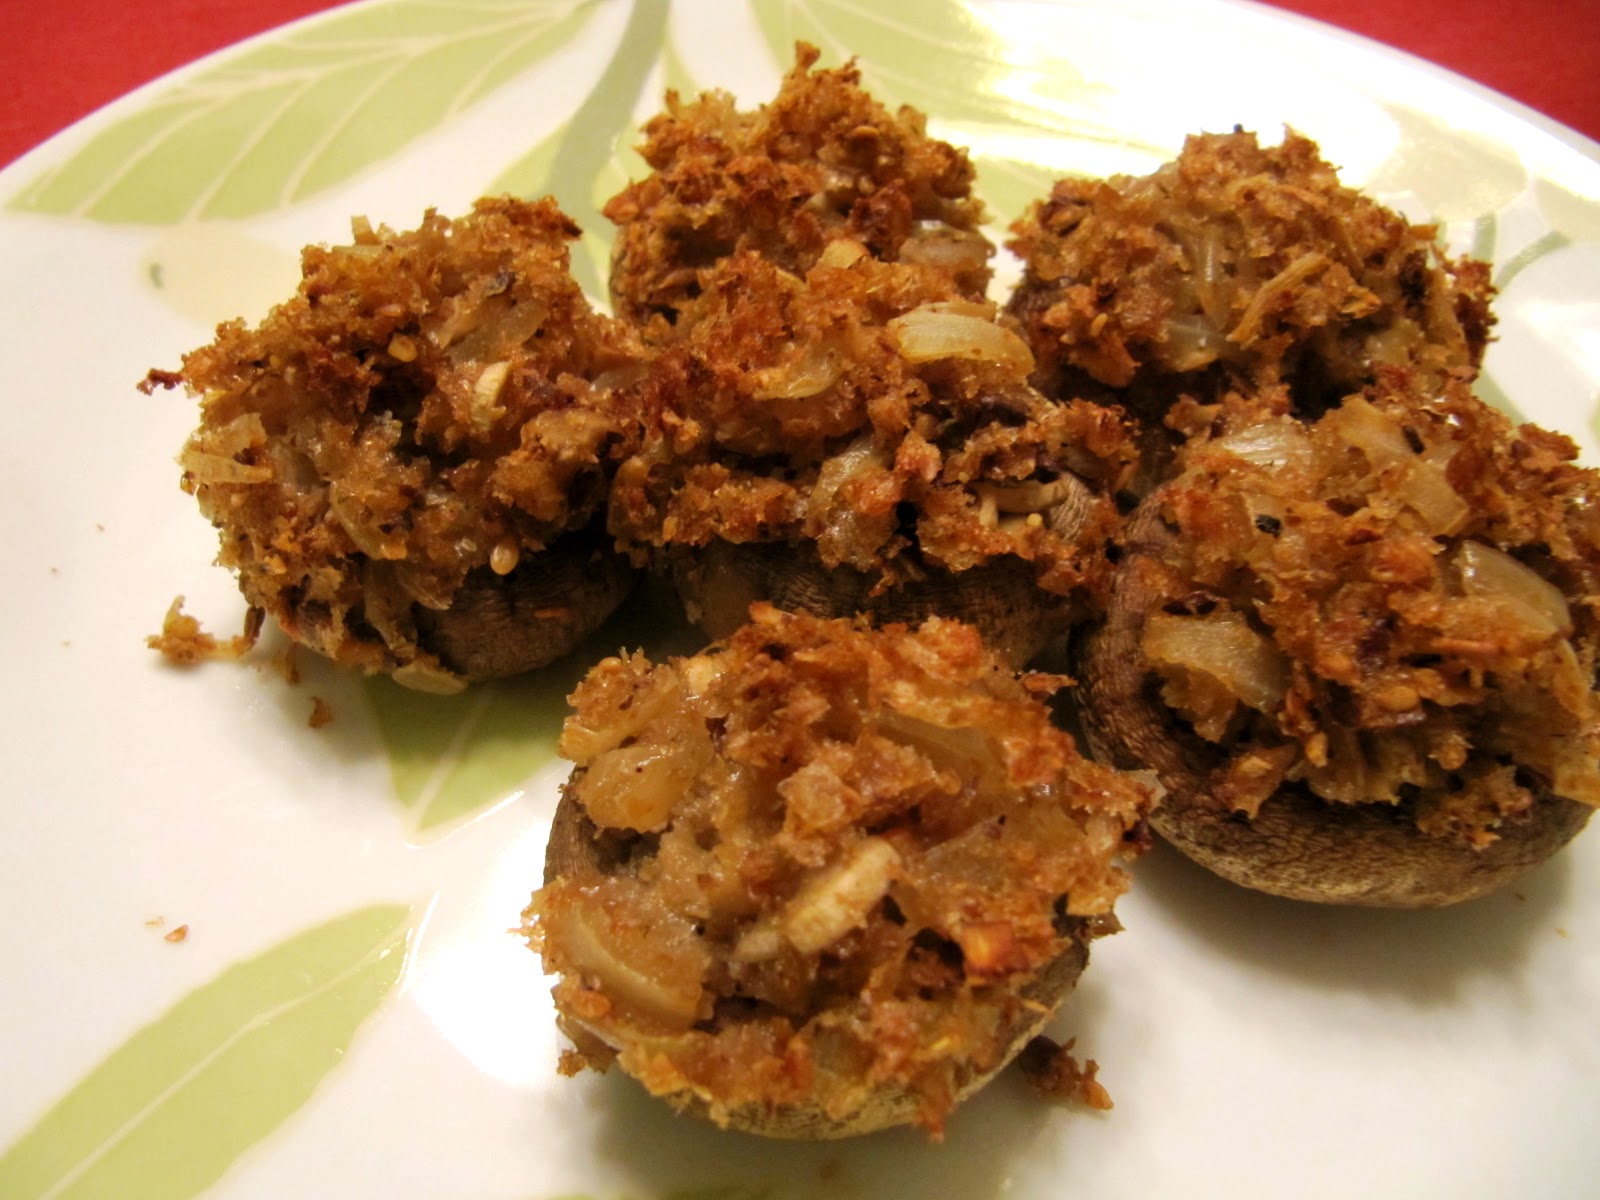
Saute the mushrooms and onions in a pan using vegetable broth. Make sure to season well, but if you are using pre-made crumbs you don't have to season as much. Cook until onions are translucent, then add crumbs. let crumbs soak up any liquids. Taste the filling and season as desired. You can also add a little bit of liquid amminos (which I did) for added flavor.


Bake for about 20 min or until the cap is soft and the top is browned.


The stuffed mushrooms are packed with flavor using the crumbs. 

These dishes required a little more work than I like but if you have time, I highly recommend trying to make them.

*Grocery shopping on Amazon seems like something I can really get into. The only problem is everything they sell is in bulk and I don't really need 200 packets of ketchup or 1 gallon of ketchup.


Monday, January 2, 2012

no fuss brown rice bean casserole

This dish involves only one pot, opening packages and cans, NO slicing.

What you need

-Frozen brown rice with black beans. This one I got from Whole Foods but you can use frozen brown rice (fresh steamers) and a can of black beans (liquid drained)
-Jar of salsa (I used medium and that was not very spicy). For two packets of rice, use a large jar of salsa.
-1 can of corn or frozen corn (if using can, drain liquid)
-Corn tortilla (optional)
-grated cheddar cheese (optional). I didn't use cheese in my dish.


What to do


Heat oven to 350 degrees.

Pour all of the ingredients except corn tortilla and cheese if you're using it in a casserole dish and mix. Crumble corn tortilla on top. (You can sprinkle the cheese on top, then add tortillas).

Bake for 30-40 min and you're done! Let sit for a few minutes to let the dish set (let the rice absorb the liquids).


You don't have to add any seasoning but you can. The corn tortillas get crunchy but a little chewy so you can add already made tortilla chips at the end. I made a plant-based oil free version of this dish and I enjoyed it very much.